Since the release of Sitecore 9.2, I've been using the new install assistant to set up development environments for various projects. While still not as simple as Sitecore 8 installations using the installation wizard or SIM Tool, it's a big step in the right direction.
I combine Jeremey Davis' Low-Effort Solr Install (script here) with the SC 9.2 install assistant to drastically simplify my setup workflow.
Despite the relative ease of this one-two punch combo, I continue to get hung up on one tiny detail that has given me enough frustration to warrant a blog post.
Solr Hostnames & Certificates
If you're using the Low-Effort Solr Install script and Sitecore install assistant together, pay attention to the Solr hostname settings in each.
In the Solr setup script, the Solr hostname and port is defaulted to https://solr:8983:
Param(
    $solrVersion = "6.6.2",
    $installFolder = "c:\solr",
    $solrPort = "8983",
    $solrHost = "solr",
    $solrSSL = $true,
    $nssmVersion = "2.24",
    $JREVersion = "1.8.0_151"
)
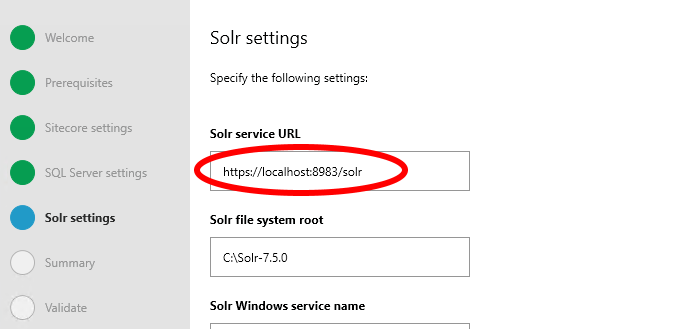
In the install assistant, the Solr hostname is set to https://localhost:8983:
The Sitecore installation fails with a straightforward message:
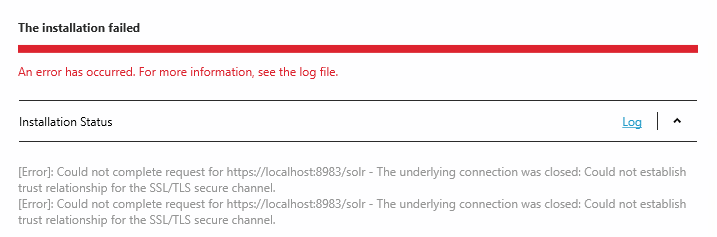
The key text of the message:
Could not complete request for https://localhost:8983/solr - The underlying connection was closed: Could not establish trust relationship for the SSL/TLS secure channel.
To be short, the Solr SSL certificate isn't trusted because it doesn't match the Solr hostname. To fix this, be sure to configure your Solr and Sitecore installations to use the same hostname for Solr.
In my case, I simply used https://solr:8983/solr for both configurations.